
Terracotta pots have been a staple in gardening for centuries, offering a timeless, earthy aesthetic that complements any garden. However, while their natural, rustic look is appealing, painting terracotta pots can add a personalized touch, making your garden truly unique. Whether you’re a seasoned gardener or a beginner, this step-by-step guide will walk you through the process of painting terracotta pots, ensuring they not only look stunning but also stand the test of time. From preparation to sealing, we’ll cover everything you need to know, along with tips, tricks, and resources to make your project a success.
Why Paint Terracotta Pots?
Before diving into the process, it’s important to understand why painting terracotta pots is worth the effort. Terracotta, while durable, is porous and can absorb water, leading to cracks and wear over time. Painting and sealing the pots not only enhances their appearance but also protects them from the elements. Additionally, painted pots allow you to match your garden’s theme, create focal points, or even repurpose old, worn-out pots. According to Gardening Know How, painted terracotta pots can also help reflect sunlight, keeping the soil cooler in hot climates.
Materials You’ll Need
To get started, gather the following materials:
- Terracotta pots: Choose pots in various sizes depending on your garden needs.
- Sandpaper: Medium-grit (120-150) for smoothing the surface.
- Acrylic paint: Water-based and weather-resistant.
- Primer: Acrylic gesso or a multi-surface primer.
- Sealant: Outdoor-grade sealant like Mod Podge or polyurethane.
- Paintbrushes: A variety of sizes for detailing and base coats.
- Painter’s tape: For creating clean lines and patterns.
- Palette or mixing tray: For blending colors.
- Drop cloth or newspaper: To protect your workspace.
- Sponge or cloth: For distressing or creating texture.
For more information on choosing the right materials, check out The Spruce’s guide to painting terracotta pots.
Step 1: Clean and Prepare the Pots
The first step in painting terracotta pots is to ensure they are clean and free of dirt, dust, or debris. Start by rinsing the pots with water and scrubbing them with a brush to remove any loose particles. If the pots have been used before, you may need to soak them in a mixture of water and mild detergent to remove stubborn stains or algae. Once clean, let the pots dry completely. According to Better Homes & Gardens, skipping this step can lead to poor paint adhesion and uneven finishes.
Step 2: Sand the Surface
After the pots are dry, use medium-grit sandpaper to smooth the surface. This step is crucial for removing any rough spots or imperfections that could affect the final look. Sanding also helps the primer adhere better, ensuring a long-lasting finish. Be sure to sand both the inside and outside of the pot, paying extra attention to the rim and base. For more tips on sanding terracotta pots, visit DIY Network.
Step 3: Apply Primer
Priming is an essential step that should not be overlooked. A good primer creates a smooth base for the paint and prevents it from soaking into the porous terracotta. Use a brush or sponge to apply an even coat of acrylic gesso or multi-surface primer. Allow the primer to dry completely before moving on to the next step. According to Bob Vila, priming can also help reduce the number of paint coats needed, saving you time and materials.
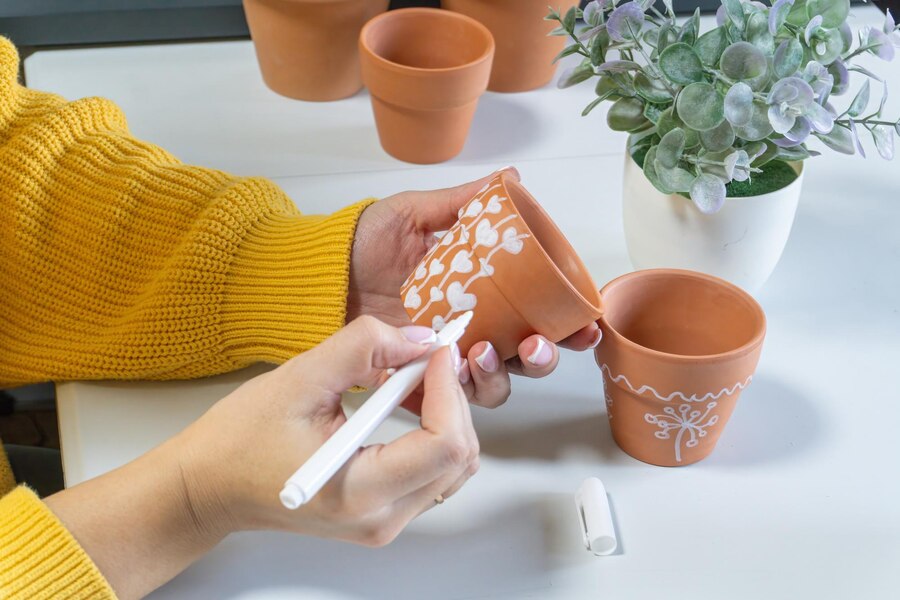
Step 4: Paint Your Design
Now comes the fun part—painting! Whether you prefer bold, vibrant colors or subtle, earthy tones, the design possibilities are endless. Here are some popular techniques to consider:
- Solid Colors: Apply a base coat of your chosen color using a wide brush. Let it dry, then add additional coats as needed.
- Ombre Effect: Blend two or more colors from top to bottom for a gradient look.
- Patterns and Designs: Use painter’s tape to create geometric patterns or freehand intricate designs.
- Stenciling: Use stencils for precise shapes and motifs.
- Distressing: Lightly sand the edges after painting to create a vintage, worn look.
For inspiration and tutorials, check out HGTV’s painting ideas.
Step 5: Seal the Pots
Once your design is complete and the paint has dried, it’s time to seal the pots. A high-quality outdoor sealant will protect your artwork from fading, chipping, and weathering. Apply the sealant with a brush or spray, ensuring even coverage. Allow the first coat to dry, then apply a second coat for added durability. According to Family Handyman, sealing is especially important for pots exposed to harsh weather conditions.
Comparison Table: Acrylic Paint vs. Spray Paint for Terracotta Pots
| Feature | Acrylic Paint | Spray Paint |
|---|---|---|
| Ease of Use | Requires brushes and more effort | Quick and easy application |
| Durability | High, with proper sealing | Moderate, may require multiple coats |
| Finish | Matte or glossy, depending on sealant | Smooth, even finish |
| Cost | Affordable | Slightly more expensive |
| Best For | Detailed designs and patterns | Solid colors and large pots |
Tips for Maintaining Painted Terracotta Pots
- Avoid Overwatering: Excess water can seep through the paint and cause damage.
- Store Indoors in Winter: Freezing temperatures can cause cracks.
- Clean Gently: Use a soft cloth to wipe away dirt and debris.
- Reapply Sealant: Refresh the sealant every year for ongoing protection.
For more maintenance tips, visit Garden Design.
FAQs About Painting Terracotta Pots
1. Can I paint terracotta pots without priming?
While it’s possible, priming ensures better paint adhesion and a longer-lasting finish. Skipping this step may result in uneven coverage and frequent touch-ups.
2. What type of paint is best for terracotta pots?
Acrylic paint is the most popular choice due to its durability and versatility. However, spray paint can also be used for a smoother finish.
3. How long does it take for the paint to dry?
Drying times vary depending on the paint and weather conditions. Generally, acrylic paint dries within 1-2 hours, but it’s best to wait 24 hours before sealing.
4. Can I use painted terracotta pots outdoors?
Yes, as long as you use outdoor-grade paint and sealant to protect the pots from the elements.
5. How do I fix chipped paint on terracotta pots?
Sand the chipped area lightly, apply a touch of primer, and repaint. Finish with a coat of sealant.
Conclusion
Painting terracotta pots is a rewarding DIY project that allows you to express your creativity while enhancing your garden’s beauty. By following this step-by-step guide, you can transform plain terracotta pots into vibrant, personalized masterpieces that withstand the test of time. From cleaning and priming to painting and sealing, each step plays a crucial role in ensuring a professional-looking finish. Whether you’re a beginner or an experienced crafter, this guide provides all the information you need to get started. So, grab your materials, unleash your creativity, and give your garden a fresh, colorful makeover with painted terracotta pots!
For more gardening tips and inspiration, visit Gardener’s Supply Company. Happy painting!